Create a revenue display that does not include pre-event donation revenue.
Step 1: Create your donation items
- From the admin navigation, click Donation and choose Manage Donation Items from the dropdown
- Click Create New Item
- Complete the item form
- ADD a category to this donation item that signifies it will be used on event night only
- EX: 'Event Night'
- Set the Item Visibility to Hidden or Preview
- ADD a category to this donation item that signifies it will be used on event night only
- Once finished, click Save
- Create as many additional donate items as needed for your event, and include the event night category on each donate item
For additional assistance on creating targeted donation items, click here.
Important to Note: Ensure the item's visibility is set to hidden or preview so that donors or visitors to the campaign cannot make donations on these items prior to the appeal moment.
Step 2: Create your revenue display
- From the admin navigation select Design, and choose Display from the dropdown
- Select +New Display
- Choose Revenue Display
- Enter a name for the display that clearly distinguishes this as the event night live appeal display
- EX: 'Revenue Display w/ Custom Category for Live Appeal'
- In the field, "Category to Display," select the custom category that you created for your donation items
- Customize and complete the remaining fields on the form
- When selecting a Left Sidebar, Right Sidebar or 1 Column display, in the Main Section, select either a Progress Image or Progress Bar
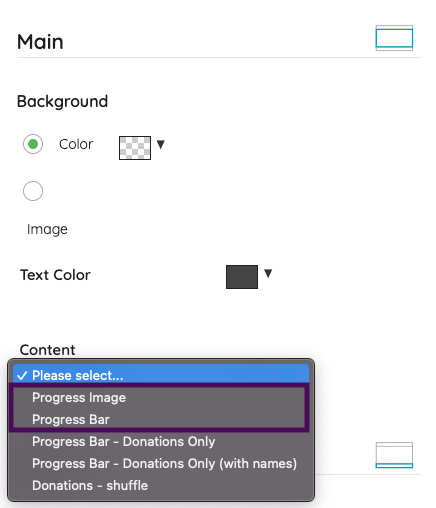
- When selecting a 2 Column display, in the Left or Right Column Section, select either a Progress Image or Progress Bar
- Once finished, click Save
- Select View Display to confirm the revenue total shown on the display is at $0

Tip:
See Help Center articles, Revenue Display: Left or Right Sidebar, Revenue Display: 2 Column, Revenue Display: 1 Column for more information on creating a revenue display.
Note: If there is revenue showing, double check that the correct category to display has been selected OR check to see if a donation has been made to one of the custom category donations items.
Step 3: Before the appeal at your event
Complete these tasks a few minutes prior to the appeal starting:
- Hide “Click to Donate”
- Select Settings from the admin navigation, and choose Donation from the dropdown
- Set the Click to Donate field to Hide
- Click Save
- Unhide the Donation Items with the custom category
- Select Donation from the admin navigation and choose Manage Donation Items from the dropdown
- Click Filter By and select the custom category
- Click Done
- Check the Select All Checkbox to select all donate items shown
- Select Bulk Actions
- Choose Live from the dropdown, click Yes to confirm
- If pre-event donate items are present, hide these items now

Important Note:
If a donor contributes through “Click to Donate,” or on another donation item that does not include the custom category, the donation will not be reflected on the custom category display.
Text to donate donations will also NOT appear on this custom display. Volunteers should NOT encourage text to donate during the appeal moment when a custom category display is being used.
Tip: If Volunteers will be entering donations for guests: Once the custom donation items are visible, refresh the volunteer iPads screen and show the Volunteers where to locate the donation items that include the custom category.